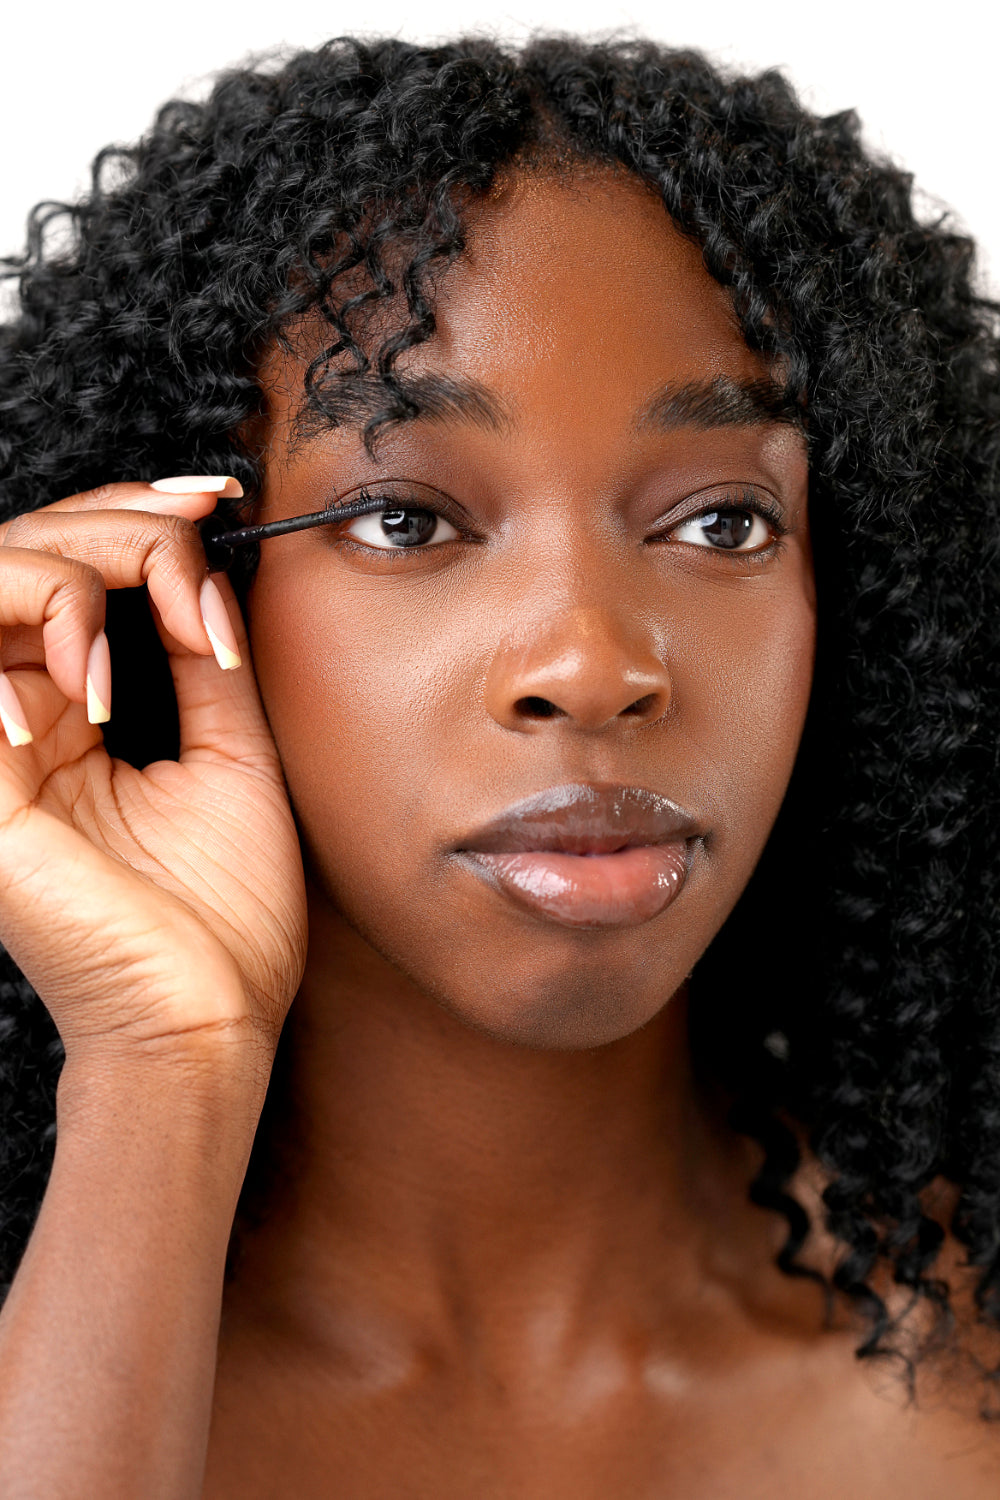
How To Apply DIY Lashes At Home For Beginners: The Easy Guide To Natural Looking Lashes
DIY Lashes for Beginners: A Simple Guide to Getting Started
If you love the look of lash extensions but not the appointments that come with them, DIY lashes might be exactly what you’re looking for.
They’ve become a go-to for creating fuller, more defined lashes at home, and for good reason. There’s no salon appointment to fit into your week, you’re in control of the finished look, and once you get the hang of the application, the whole process becomes surprisingly simple.
Still, applying your own lashes for the first time can feel a little intimidating. If you’ve ever struggled to get a strip lash to sit properly, the idea of doing your own lash extensions probably doesn’t sound particularly effortless.
The good news? DIY lash clusters are a completely different experience.
Why DIY Lashes Feel Different From Strip Lashes
Anyone who has spent ten minutes trying to stick down the inner corner of a strip lash knows the frustration.
A traditional strip has to follow the shape of your entire eye, and getting the placement right in one go can take some practice. Lash clusters are much smaller, which means you can apply and adjust them individually.
That gives you far more control over the final result.
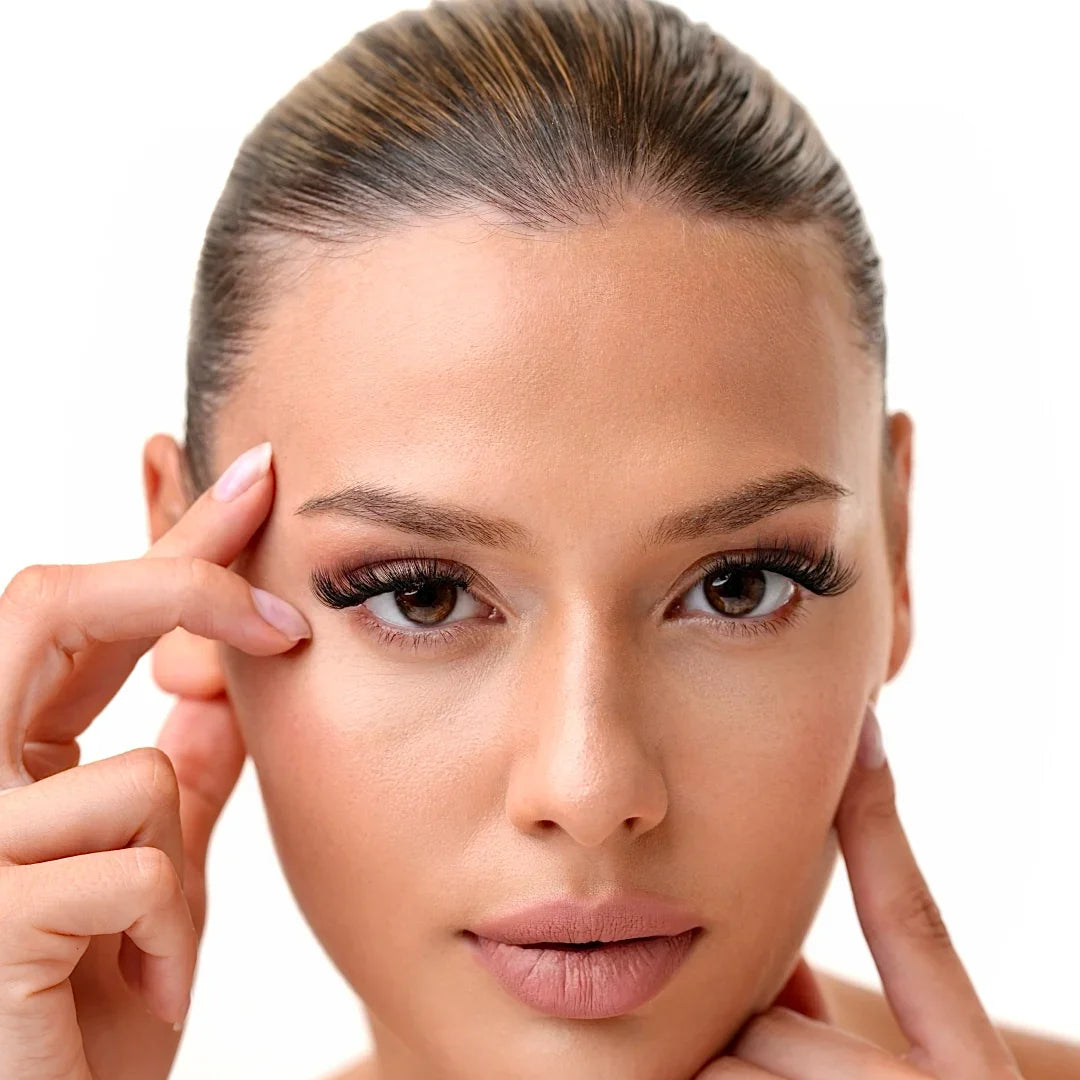
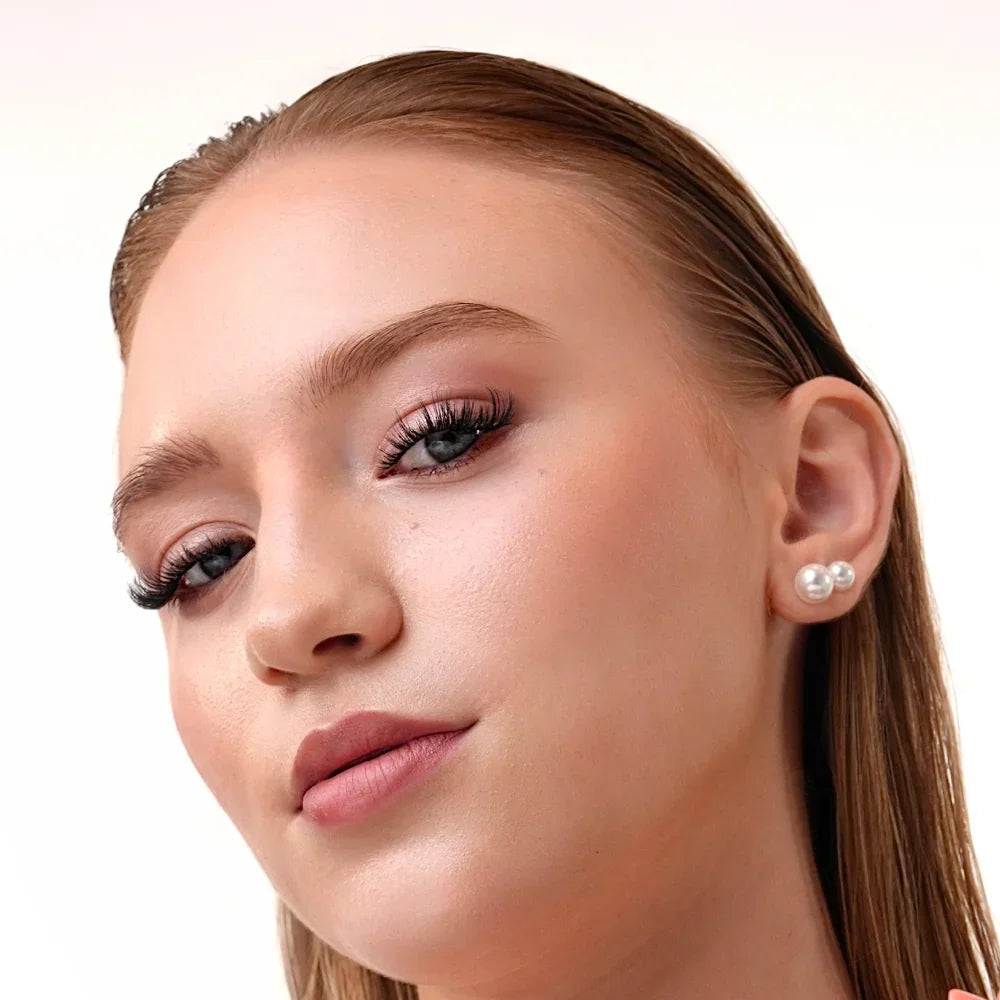
You can keep things soft and barely there, add a little extra lift towards the outer corner, or build a fuller lash look when you want more definition. You’re not restricted to the shape of one pre-made strip.
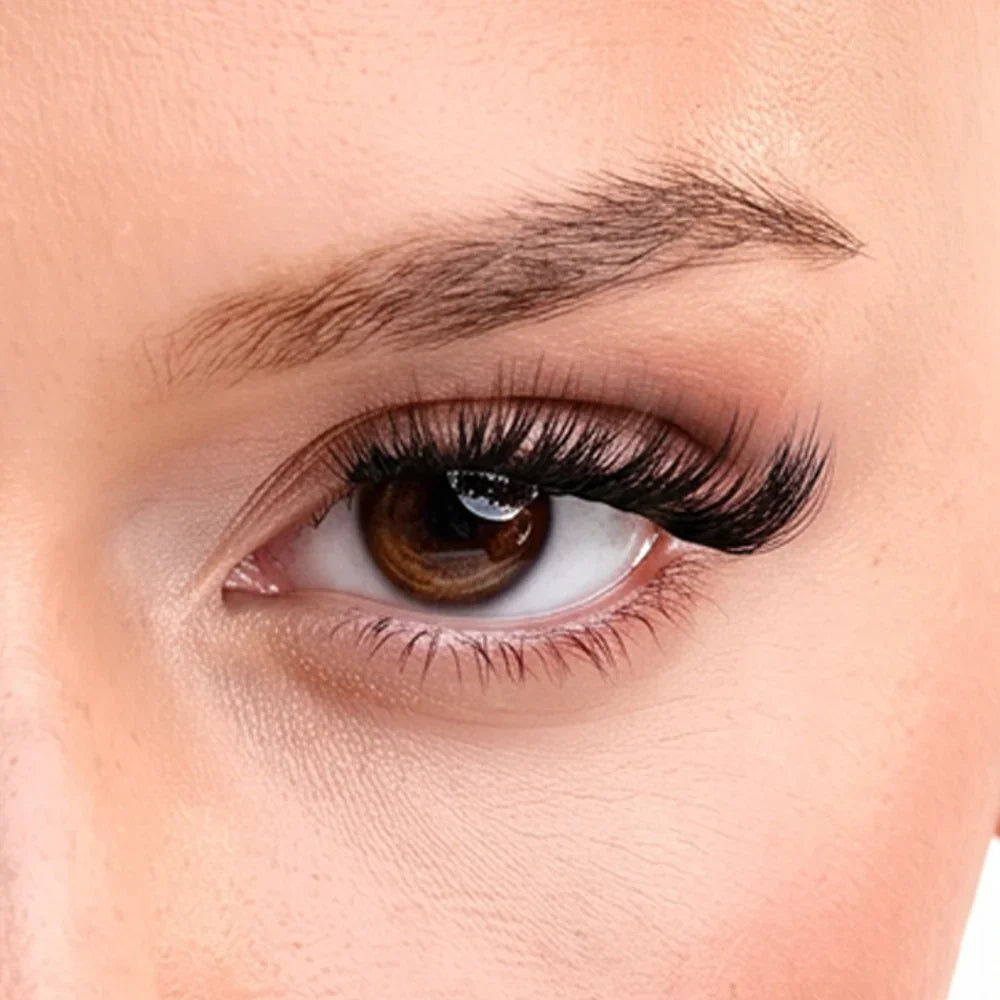
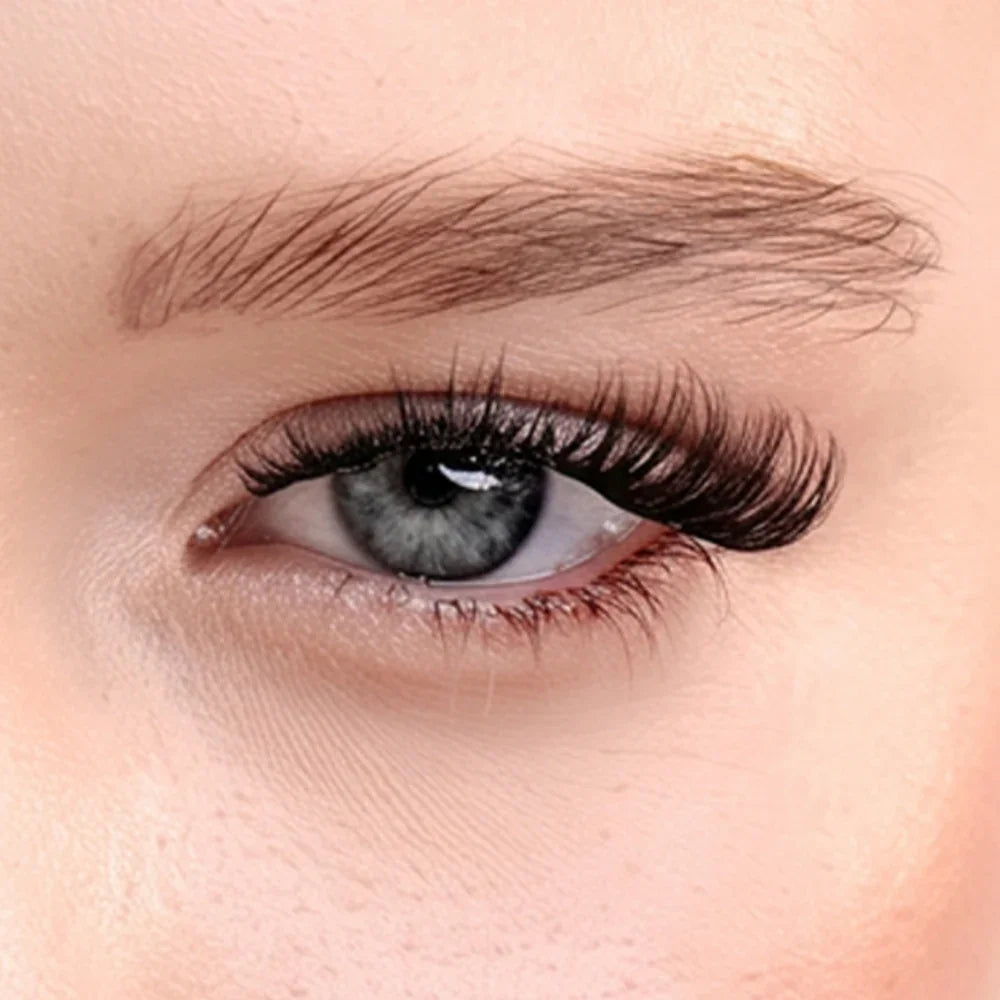
And because there isn’t one thick band running across the entire lash line, a lightweight cluster style can feel much more natural on the eyes too.
Are DIY Lashes Actually Beginner-Friendly?
They can be — especially if you resist the temptation to do too much on your first try.
You don’t need to create the perfect lash map or master a dramatic look straight away. Starting with lightweight clusters and a softer style gives you a chance to get comfortable with placement before experimenting with different lengths and shapes.
The biggest advantage is that you’re working with one small section at a time.
If a cluster isn’t sitting quite where you want it, you can adjust it. If the outer corner feels too long, choose a shorter one. If you want a little more volume, add it gradually.
That flexibility makes the process much less intimidating than trying to position an entire strip perfectly in one movement.
How to Apply DIY Lashes at Home
Once you’ve chosen your lash style, give yourself a little time for your first application. There’s no need to rush it.
1. Start With Clean, Dry Lashes
A good application starts before you pick up the first cluster.
Make sure your natural lashes are clean and free from mascara, makeup, skincare and excess oil. This gives your lash system a clean base to work with.
If your natural lashes are particularly straight, you may also prefer to curl them gently before you begin.
2. Choose a Look You’ll Actually Wear
Your first set probably isn’t the time to choose the longest, fullest lashes you can find.
Think about how you normally like your eyes to look. If you usually wear minimal makeup, a lighter and more understated lash style will probably feel much more like you.
For a lifted effect, you might prefer gradually increasing the length towards the outer eye. For something softer and more natural, keep the difference between lengths subtle.
There isn’t one shape that works for everyone — your eye shape and personal style matter.
3. Work One Cluster at a Time
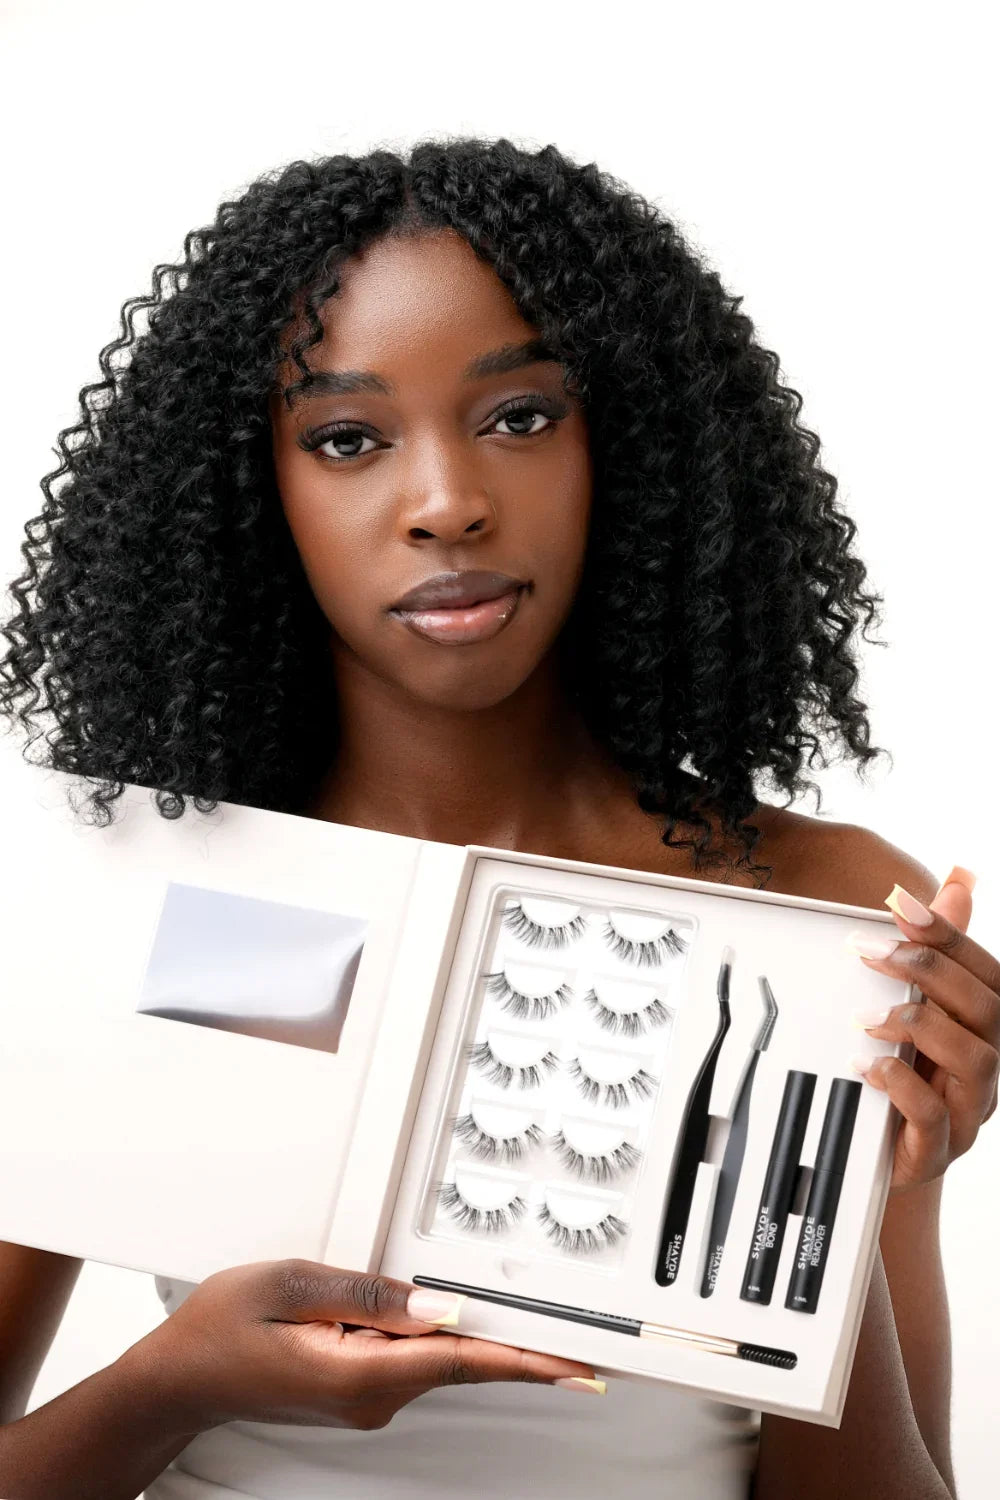
Use your lash applicator to pick up one cluster and position it according to the instructions for your particular DIY lash system.
Take your time with the placement rather than trying to finish both eyes as quickly as possible.
Some people find it easier to begin towards the outer eye and work inwards because it helps establish the overall shape. Others prefer to map out their look first.
Either way, consistency comes with practice.
Your first application does not need to look like your tenth.
4. Check the Shape Before You Finish
Once your clusters are in position, look at the lashes from a little further away.
This is often when you notice that one section needs adjusting or that the outer corner could be slightly shorter.
Make those small changes before finishing your application according to the instructions for your lash system.
The goal isn’t to make every cluster look perfectly identical. It’s to create a shape that looks balanced on your eyes.
The Mistakes Almost Everyone Makes at First
Using too much product is probably one of the easiest beginner mistakes to make.
More Bond doesn’t automatically mean better hold, and more lashes don’t automatically mean a better result.
Another common mistake is placing too much length near the inner corner. The inner eye is naturally more delicate, and a cluster that feels perfectly comfortable elsewhere can suddenly feel very noticeable there.
And then there’s the urge to make everything perfectly uniform.
Natural lashes aren’t perfectly uniform. A little variation in length and density can actually make a finished lash look softer and more believable.
If something doesn’t look right, don’t keep adding more clusters to fix it. Sometimes removing one is all it takes.
How to Make DIY Lashes Look More Natural
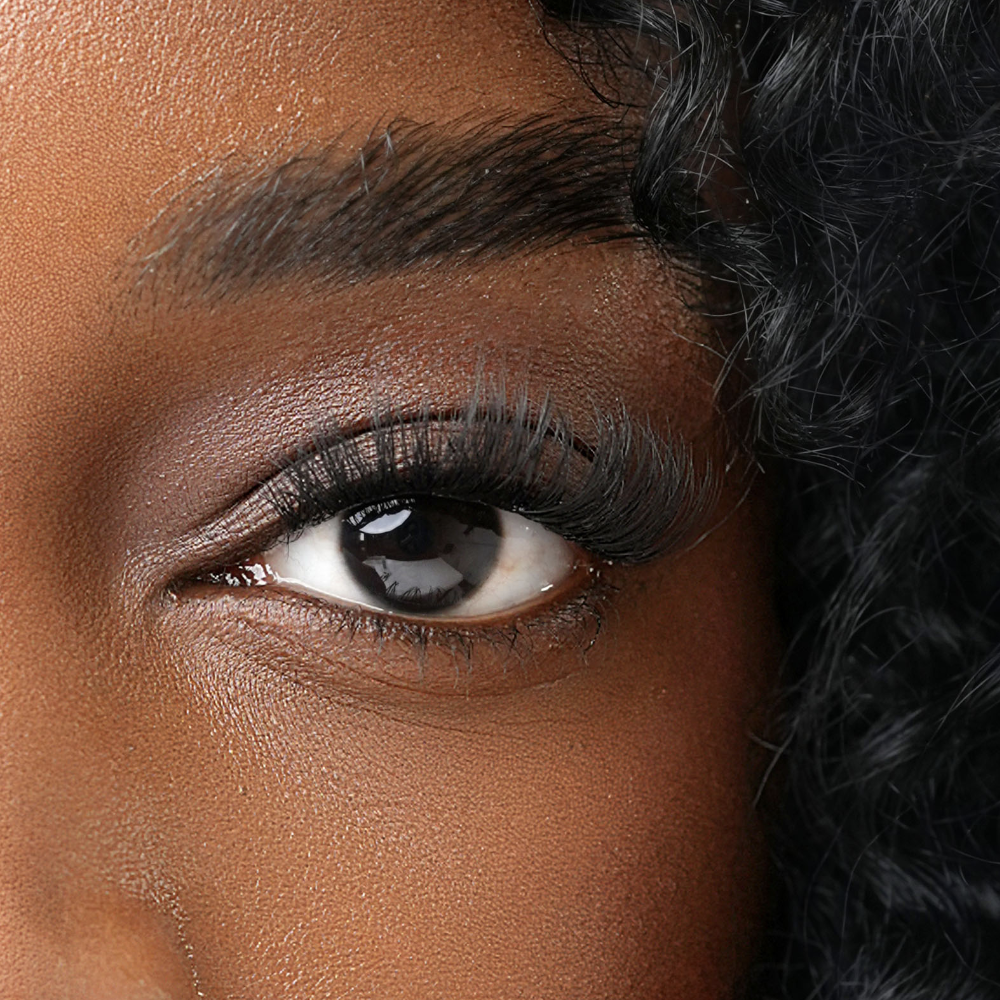
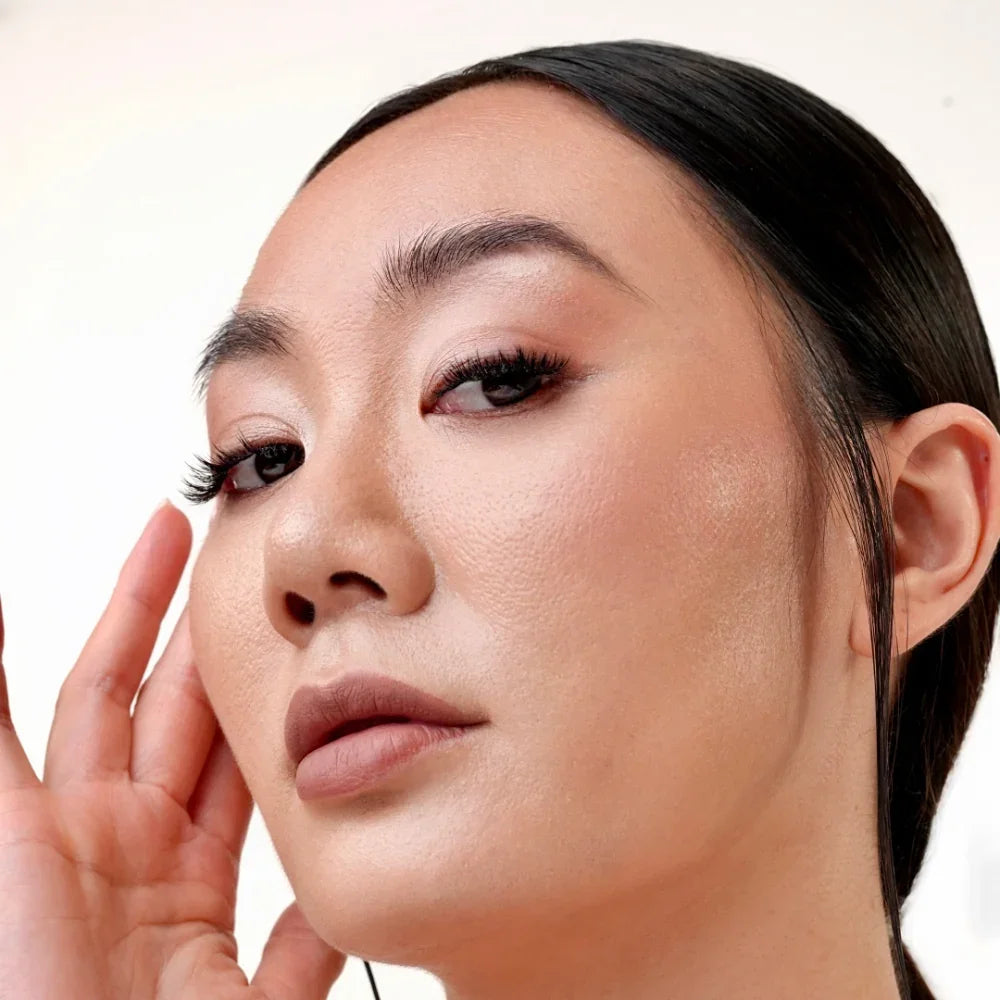
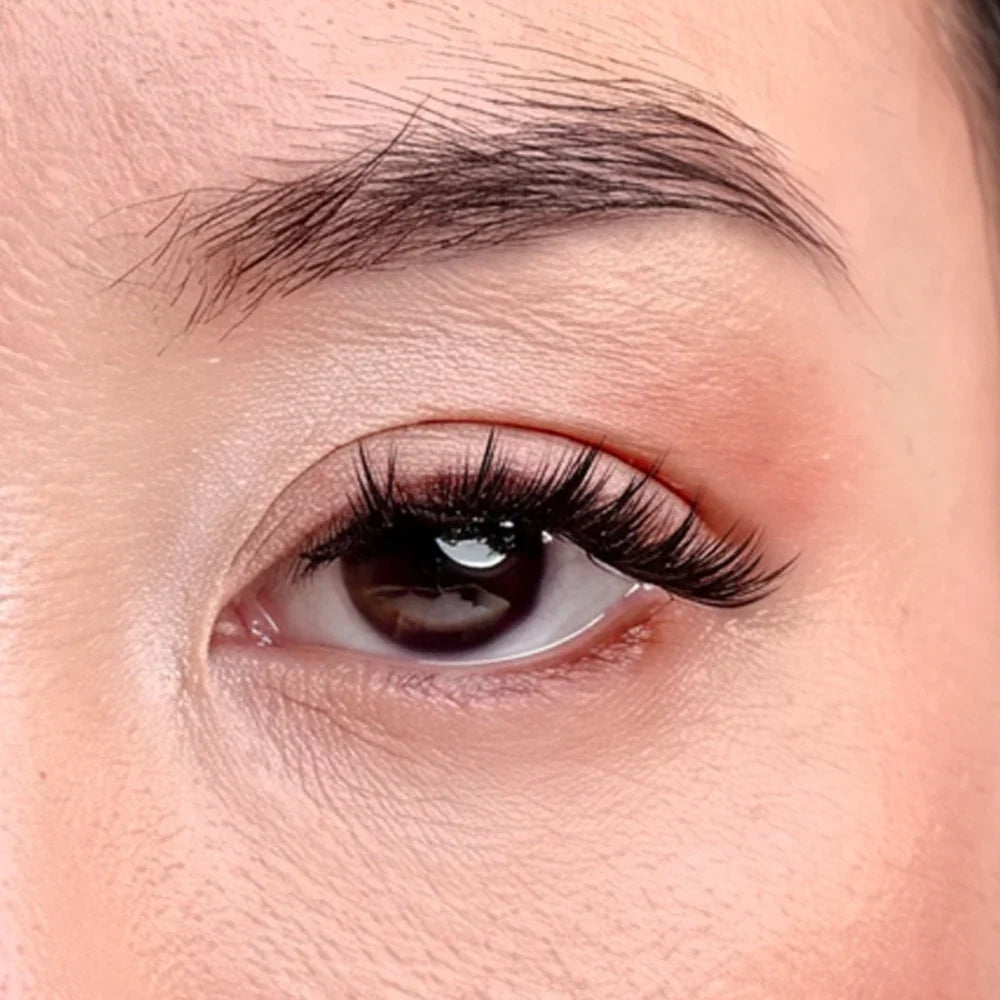
The most convincing lash looks tend to enhance what’s already there rather than completely covering it.
Look for fine, lightweight fibres and softer shapes. Instead of choosing one dramatic length across the entire eye, use different lengths to complement your natural lash line and eye shape.
You can also think about the effect you want rather than simply asking, “How long can I go?”
Maybe you want your eyes to look slightly more lifted. Maybe you want definition without looking obviously made-up. Or perhaps you love a fuller lash but still want it to feel refined.
That’s the beauty of working with individual clusters: the finished look can actually feel personal.
Comfort Matters More Than You Think
A lash can look beautiful and still be something you can’t wait to remove.
That’s not the experience you want.
Heavy lashes, stiff bands or uncomfortable placement can become increasingly noticeable throughout the day. A lightweight lash should complement your eyes without dominating how they feel.
It’s one of the reasons we believe the best DIY lashes aren’t simply about creating more volume. They should look beautiful and feel comfortable enough to become part of your routine.
Because if you’re thinking about your lashes all day, they probably aren’t as effortless as they should be.
Finding Your Lash Style
Once you’re comfortable with the application, this is where DIY lashes become fun.
You can experiment with different shapes depending on your mood, makeup or the occasion.
A barely-there style can give you subtle everyday definition. A lifted shape can draw attention towards the outer eye. Something fuller can create more impact without needing a traditional strip lash.
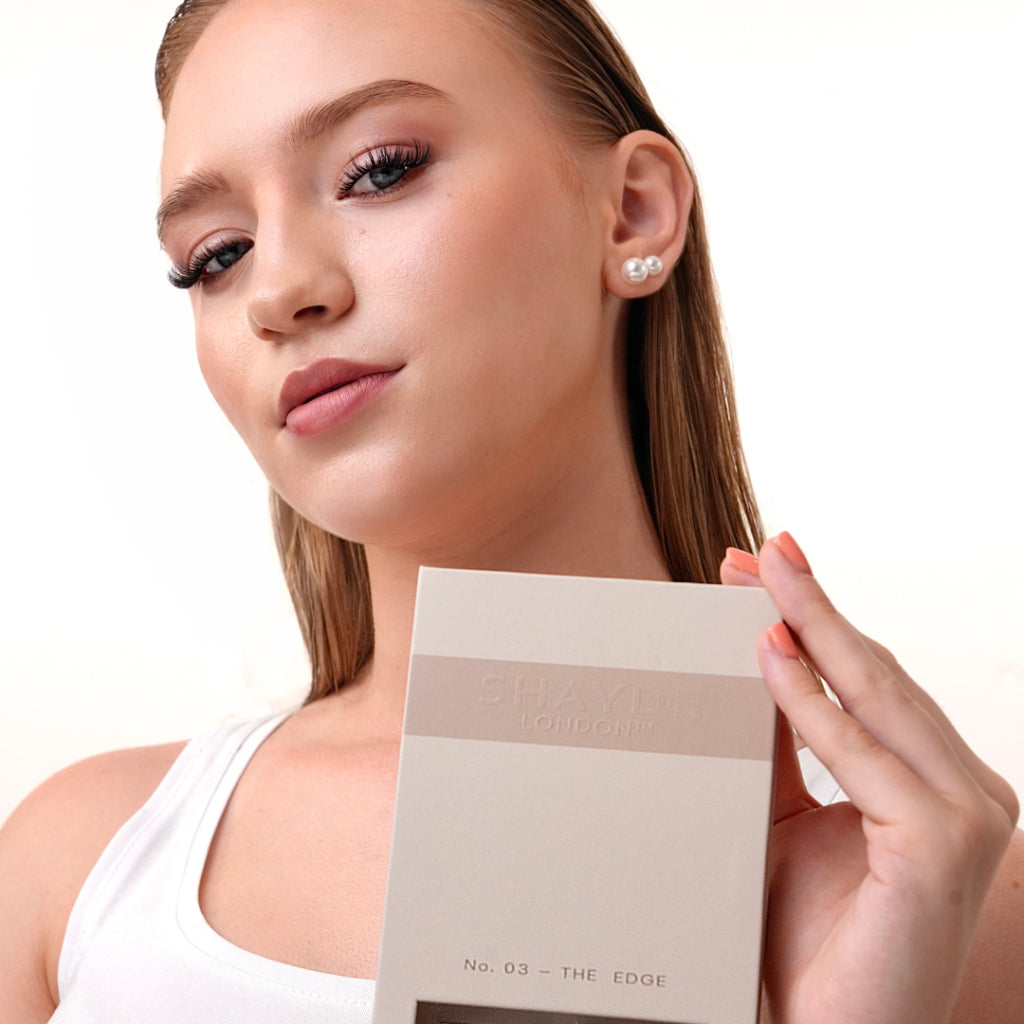
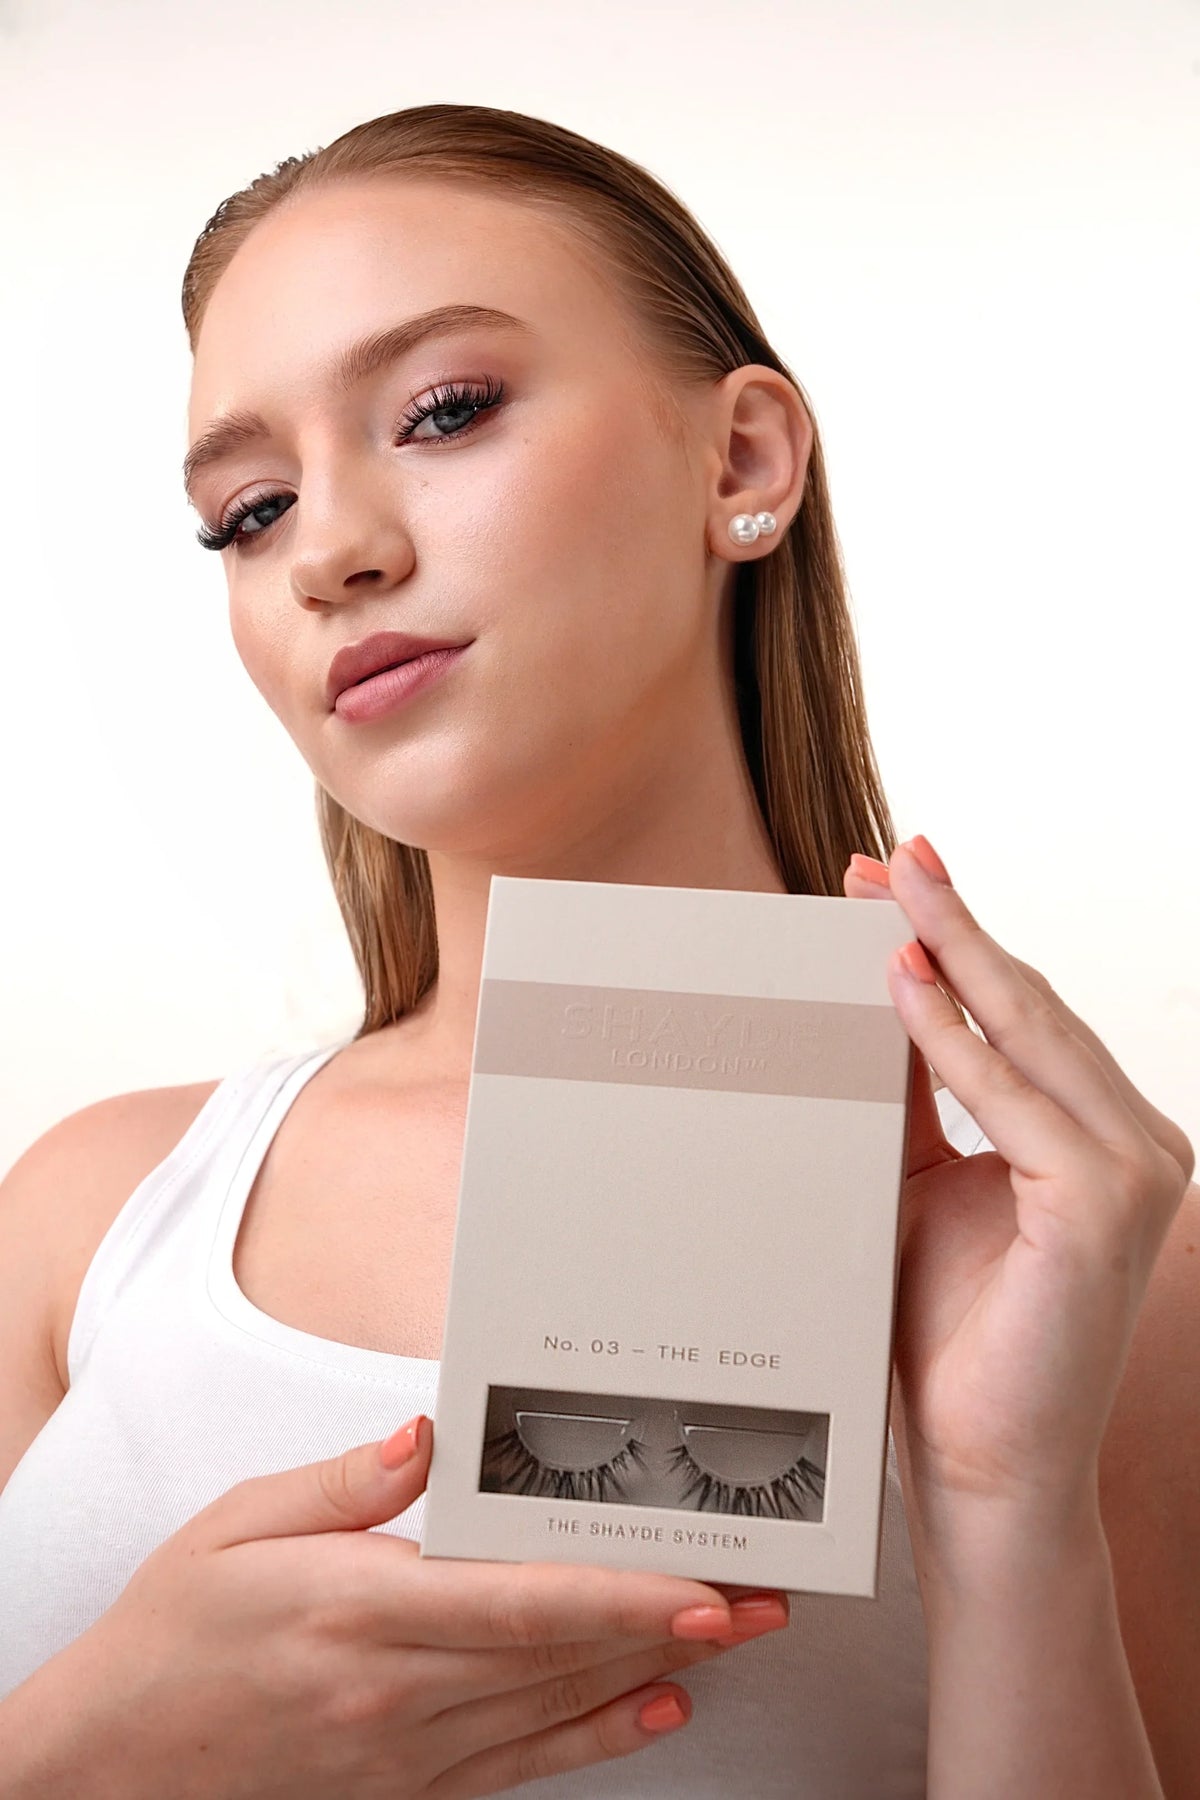
At SHAYDE LONDON, our lash styles are designed around exactly that idea: giving you different ways to define your eyes without losing the lightweight feel that makes DIY lashes so wearable.
You don’t have to wear the same lash look every day.
Your First Application Won’t Be Your Best — and That’s Fine
There’s a small learning curve with any new beauty routine.
Your first DIY lash application might take longer than you expected. You may change a cluster halfway through or realise afterwards that you’d prefer a different length in one section.
That’s completely normal.
After a few applications, you start to understand where each cluster feels best, which lengths suit your eyes and how much product you actually need. What initially felt precise and unfamiliar quickly becomes part of the routine.
A Better Way to Think About DIY Lashes
DIY lashes aren’t really about recreating a salon appointment in your bathroom.
They’re about having more control.
Control over the shape. Over how much definition you want. Over when you apply them. And over the look that feels most like you.
Start light, take your time and don’t chase perfection on the first application.
The best lash look is the one that still feels like you — just a little more defined.
SHAYDE LONDON
DIY LASHES, REDEFINED.